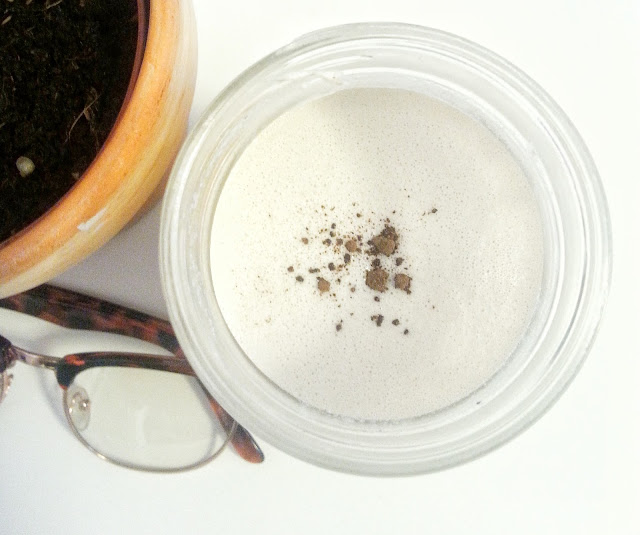
After
watching HeyFranHey’s DIY
Almond Milk video I knew I had to try it out. I’m not new to the world of
non-daily milk as I absolutely hate milk from cows and from what my mom says, I
always have. I’m not allergic or anything but I don’t like the taste plus they
put hormones in a lot of them and I’m not about that life. I’ve always been
drawn to the rice, soy and almond milk. My friend and photographer, Jalessa brought a huge back
of almonds so I knew what must be done. A lot of store almond milks contain a
ton of extra stuff that spike up sugar and calorie levels; it doesn’t bother me
much but if there’s a healthier and cheaper option – I’m all for it. Most recipes
required multiple days of preparation and a nut/cheese bag but this recipe doesn't need it. Instead we'll use something most you probably already have or can get for $2 or less.
What
You’ll Need:
Almonds (I used the equivalent of
two glasses)
Water (Enough to slightly cover
the cups of almonds)
Sweetener (optional)
Mesh Sieve
Blender
Nut/Cheese Bag (or Nylon
stocking)
1. Bring water to a boil. Make sure
the water is enough to slightly cover the almonds.
2. Put almonds in boiling water for
1 – 2 hours and cover the pot to keep the heat in. If the water starts to cool
down, put the heat on low or medium until it boils again then turn it off.
3. Strain almonds with sieve and put
almonds into blender with enough water to cover the almonds (don’t pass the capacity
on your blender – if you have to blend more than once, it’s okay)
4. Once blended into more of a liquid
put the stocking into a deep bowl and stretch the stocking to cover the opening
of the blender (if the mouth of your blender is too big don’t stretch it too
much or it’ll break. I used a Nutribullet so it covered perfectly). Pour everything
down the stocking that is still in the bowl.
5. If it hasn’t already, the milk
will start to seep through but you should also squeeze lightly to get more of
it out. You can throw away the mashed almonds or use it for another recipe or
beauty DIY.
6. Continue this process until you’ve
used all your almonds
7. Refrigerate and enjoy!
Total Time: 2 – 3 hours // Creates:
2 Pints (Mason Jars)
*I like my milk sweet so I added
one teaspoon of organic brown sugar* I do recommend only using it within 7 days
but now that you know how to make it you can make it every week for your
cereal, granola, coffee or ice cream! Let me know if you make it by clicking my
links below*


Post a Comment